The Sun Salutation Step By Step
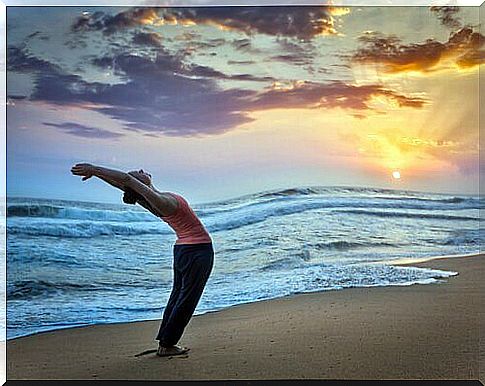
The sun salutation, or Surya namaskar, is a fundamental part of the practice of Hatha yoga. It is a sequence of 12 movements synchronized with the breath. This is normally the first exercise that beginners are taught. It is so popular that there are several variations of it.
This practice consists of a circular series of movements that begin and end in the same position. Some yogis believe that the sun represents the physical and spiritual heart of the world , so sun salutations can be interpreted as a way of thanking the new day full of light that is beginning.
In fact, it is recommended to practice sun salutation as a morning ritual as it is a very good way to wake up with energy and enthusiasm. Among the many benefits that derive from it, we can note that it helps to stretch the main muscles and calms the mind.
In addition, studies show that the practice of this type of exercise improves the strength and flexibility of the body. At the same time, this ritual is very positive in developing and facilitating respiratory and cardiovascular function, in addition to reducing stress, anxiety, depression and chronic pain.
The sun salutation step by step
In the sun salutation, each position complements the previous one, stretching the body in a different way and alternately contracting and relaxing the chest to regulate breathing.
If practiced on a daily basis, this sequence of movements allows for great flexibility in the spine and joints. Here are the steps to follow to complete this comprehensive practice.
1. Namaskar
You start with the mountain pose. The first step is to stand up with your feet together and your body relaxed. Then you should inhale and, as you exhale, bring the palms of your hands together at chest height as you gently press your thumbs against your breastbone.
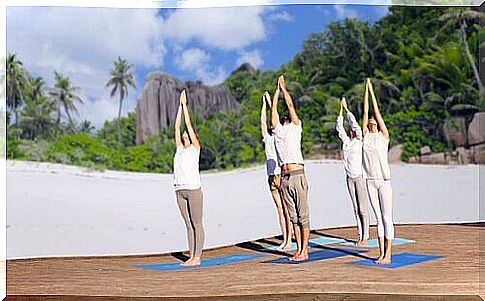
2- Urdhva hastasana
Then inhale as you stretch your arms upward. Keep your back straight with the hips tilted forward. Remember that the palms of your hands should rest against each other.

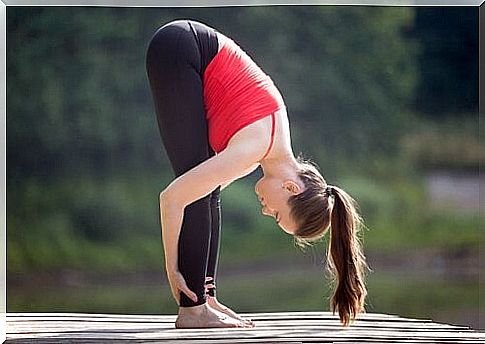
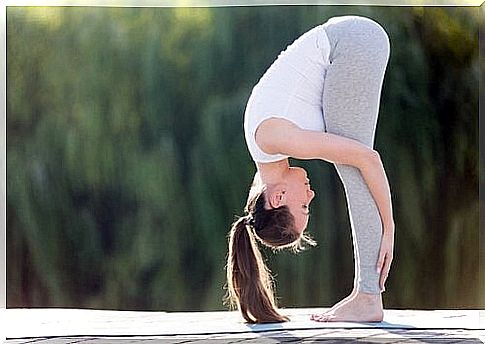
3- Uttanasana
Exhale as you lean forward. Your head should be at the level of your knees and you should stretch your hands towards the floor. Try to get them as low as possible, making them touch your feet.
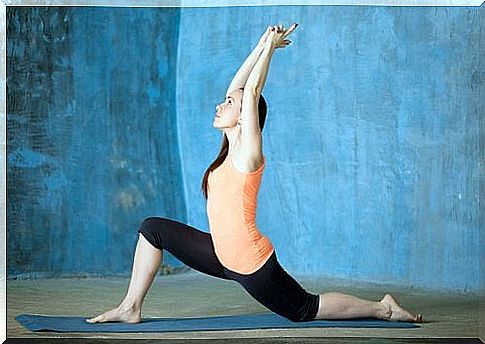
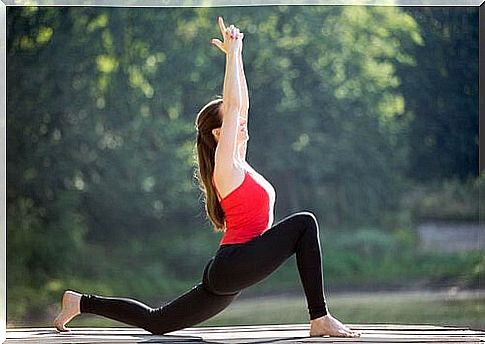
4- Ashwa sanchalanasana
While exhaling, slide your left leg back. Your instep should touch the ground. Remember to lift your head and keep your back straight. The hands must remain in contact with the ground.
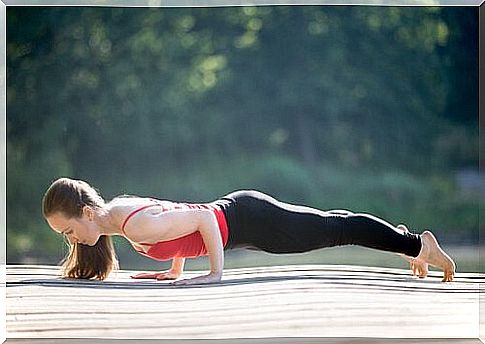
5- Chaturanga
To complete this fifth step, you must hold your breath and stretch the second leg back, leaning on your arms. She must come and join the first. Remember that the spine and legs should form a straight line. Before proceeding to the next step, remember to breathe, contract your abdomen and hold your breath for two seconds.
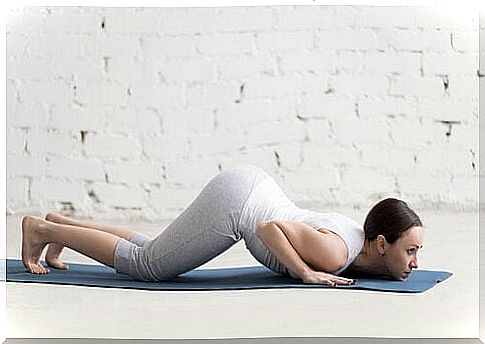
6- Chaturanga dandasana
Exhale as you bend your elbows and knees. You should look at the ground and slide your body forward as you lightly press your chest to the ground.
7- Bhujangasana
Inhale as you lift your chest. Your back should arch back as you keep your arms straight forward. This step involves keeping your shoulders down, gently arching your back, lifting your head, and relaxing your outstretched legs on the floor.

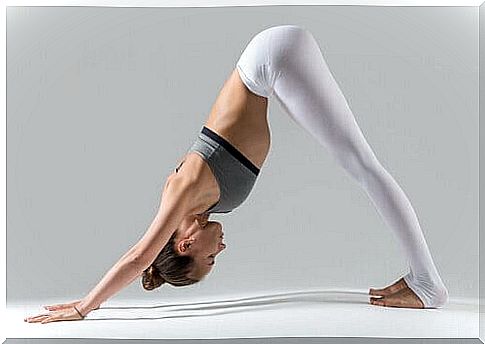
8- Adho mukha svanasana
Exhale and lift your body back. You should end up with the palms of your hands and the soles of your feet resting on the floor. Your body should end up forming a sort of triangle.
Hold this position for a few seconds and move on to the next one.
9- Ashwa sanchalanasana
Inhale and straighten your left leg forward, relaxing your back. This is the same position as that described in the fourth point.
10- Uttanasana
Exhale as you lift your right leg and stand up. As in position 3, the knees should be slightly bent and the head level. Extend your arms trying to touch the ground.
11- Urdhva hastasana
You should inhale by bringing your hands together and raising your arms above your head. Then gently lean your back back to assume a slightly arched position. This posture is the same as that described in point 2.
12. Namaskar
Finally, exhale slowly, bringing your hands together again at the level of the sternum and resuming the first position of the ritual. The sun salutation cycle ends in this way. You can repeat the twelve positions as many times as you want in order to feel all this good energy flooding your body.

Although this practice may seem complicated at first, the sun salutation is one of the simplest routines in yoga. Try to follow the instructions given by letting yourself be guided by the images and you will see that you will end up achieving them in record time.
The more time passes, the more we hear about such oriental practices such as yoga; day by day, more and more people in the m …